Recreating an Imperial Subarmalis
The imperial subarmalis in this project was made as a working under-armour garment for the ceremonial kit associated with Augustus of Prima Porta. Visually it may look like a decorative costume element, but in a wearable kit it has several functions at once: it forms the layer under the lorica musculata, sets the length of the pteruges, takes part of the pressure from the armour and strongly affects the overall silhouette.
This expanded version of the work shows not only the finished object, but also the path toward it: comparison with the iconographic source, a textile mock-up for fit and drape, leather selection, edge finishing and the repeated hand assembly of pteruges.
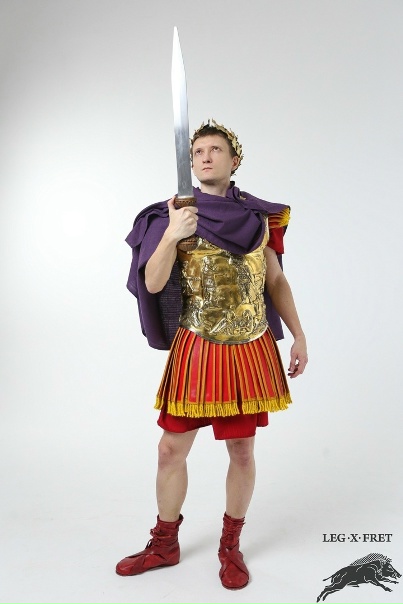 Imperial kit with a leather subarmalis under the lorica musculata.
Source and Comparison with Prima Porta
The main visual reference for the imperial kit is the statue of Augustus of Prima Porta. It does not provide a pattern for the under-armour garment in a modern technical sense: marble sculpture presents an idealized ceremonial image rather than a construction drawing of leather, textile, seams and fastenings. Yet it shows where the under-armour layer should remain visible beneath the cuirass: at the shoulders, below the lower edge of the cuirass, around the hips and in the rows of pteruges.
The comparison was therefore made through the overall logic of the silhouette rather than through a single isolated detail. The height of the upper edge, volume under the cuirass, length of the lower pteruges, opening around the hips and the way the subarmalis helps form a unified vertical image all mattered. Fitting with the lorica musculata checked whether the pteruges disappeared under the cuirass or became too long or too stiff for movement.
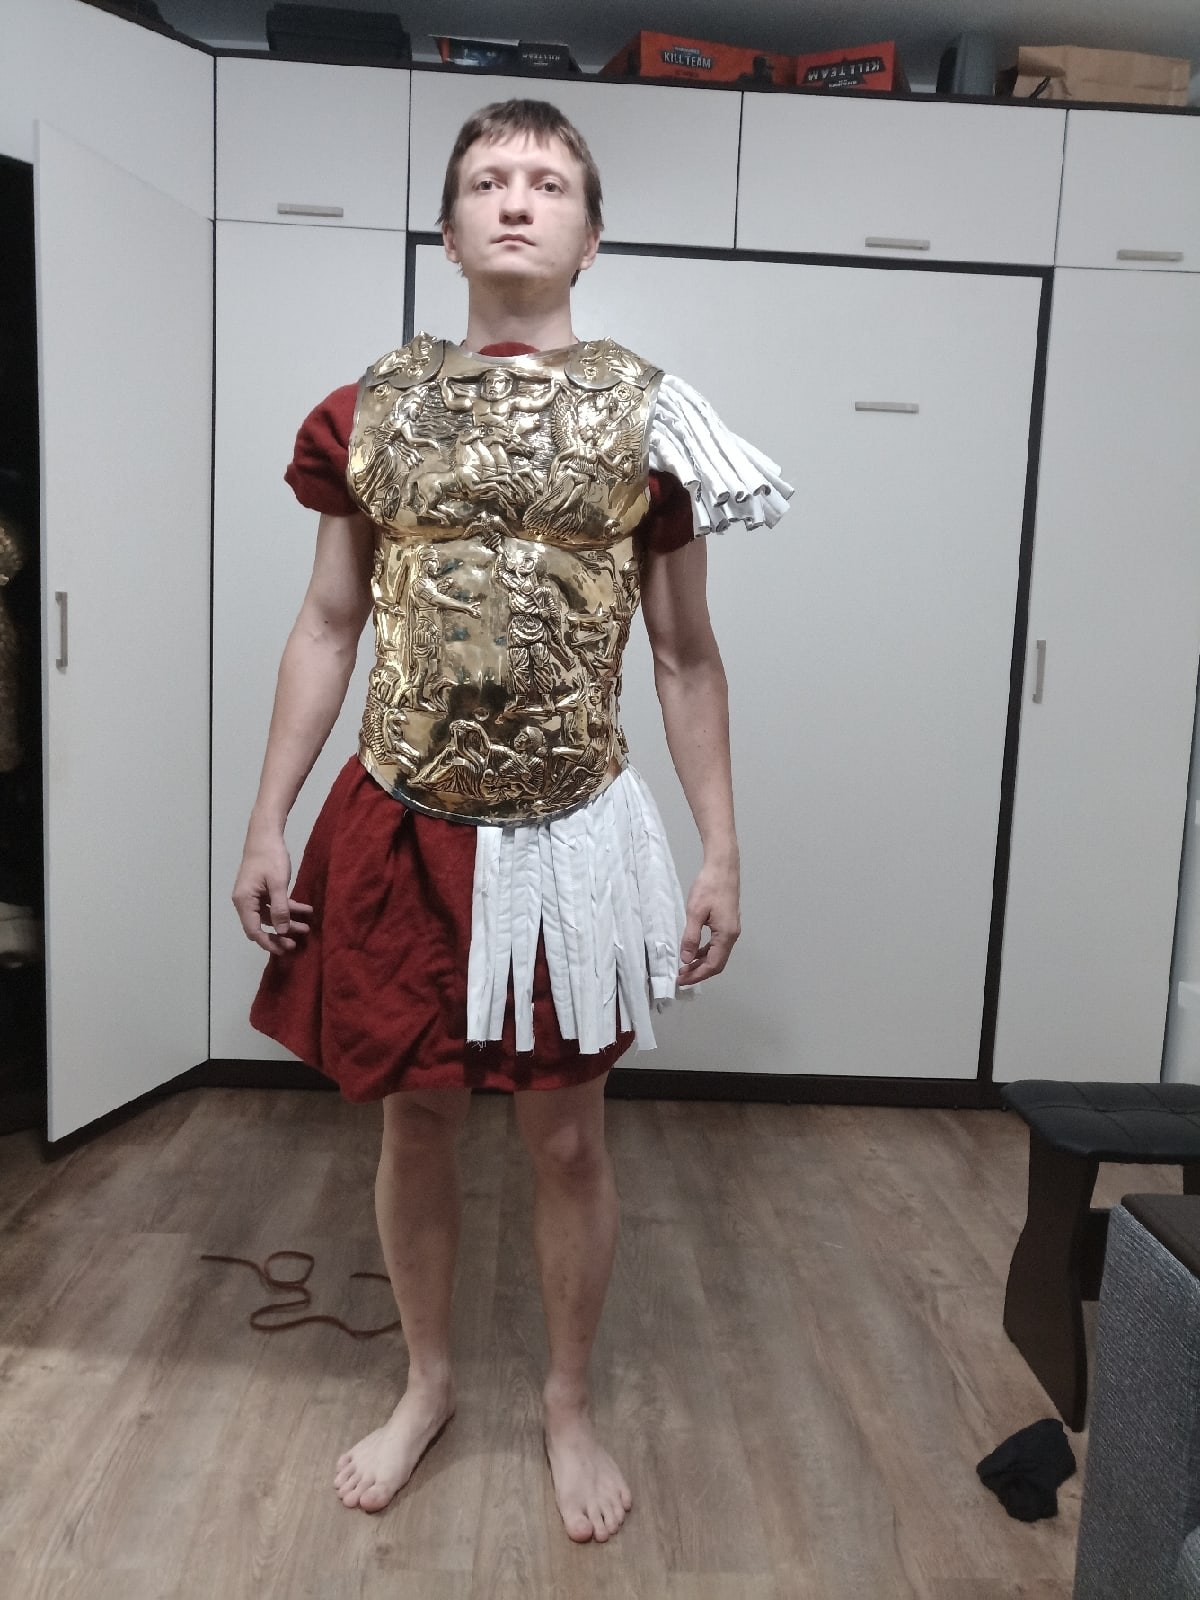 Fitting under the lorica musculata: checking visible pteruges and the silhouette of the imperial kit.
Mock-up and Drape
A textile mock-up of the subarmalis was made before cutting the leather. For an object of this kind this is not a rough formality but a necessary stage: leather is costly, does not tolerate unnecessary holes and, after dyeing, no longer allows major proportions to be changed easily. The mock-up made it possible to refine the body width, shoulder line, armhole depth, waist position and the way the lower pteruges would spread over the tunic.
Seeing the object in volume was especially important. On a flat surface the pteruges look like simple strips, but on the body they become a moving layer: some are covered by the cuirass, others remain visible, and others fall over the hip and affect walking. The mock-up was therefore fitted with the tunic and armour, and the dimensions were transferred to leather only after checking fit and drape.
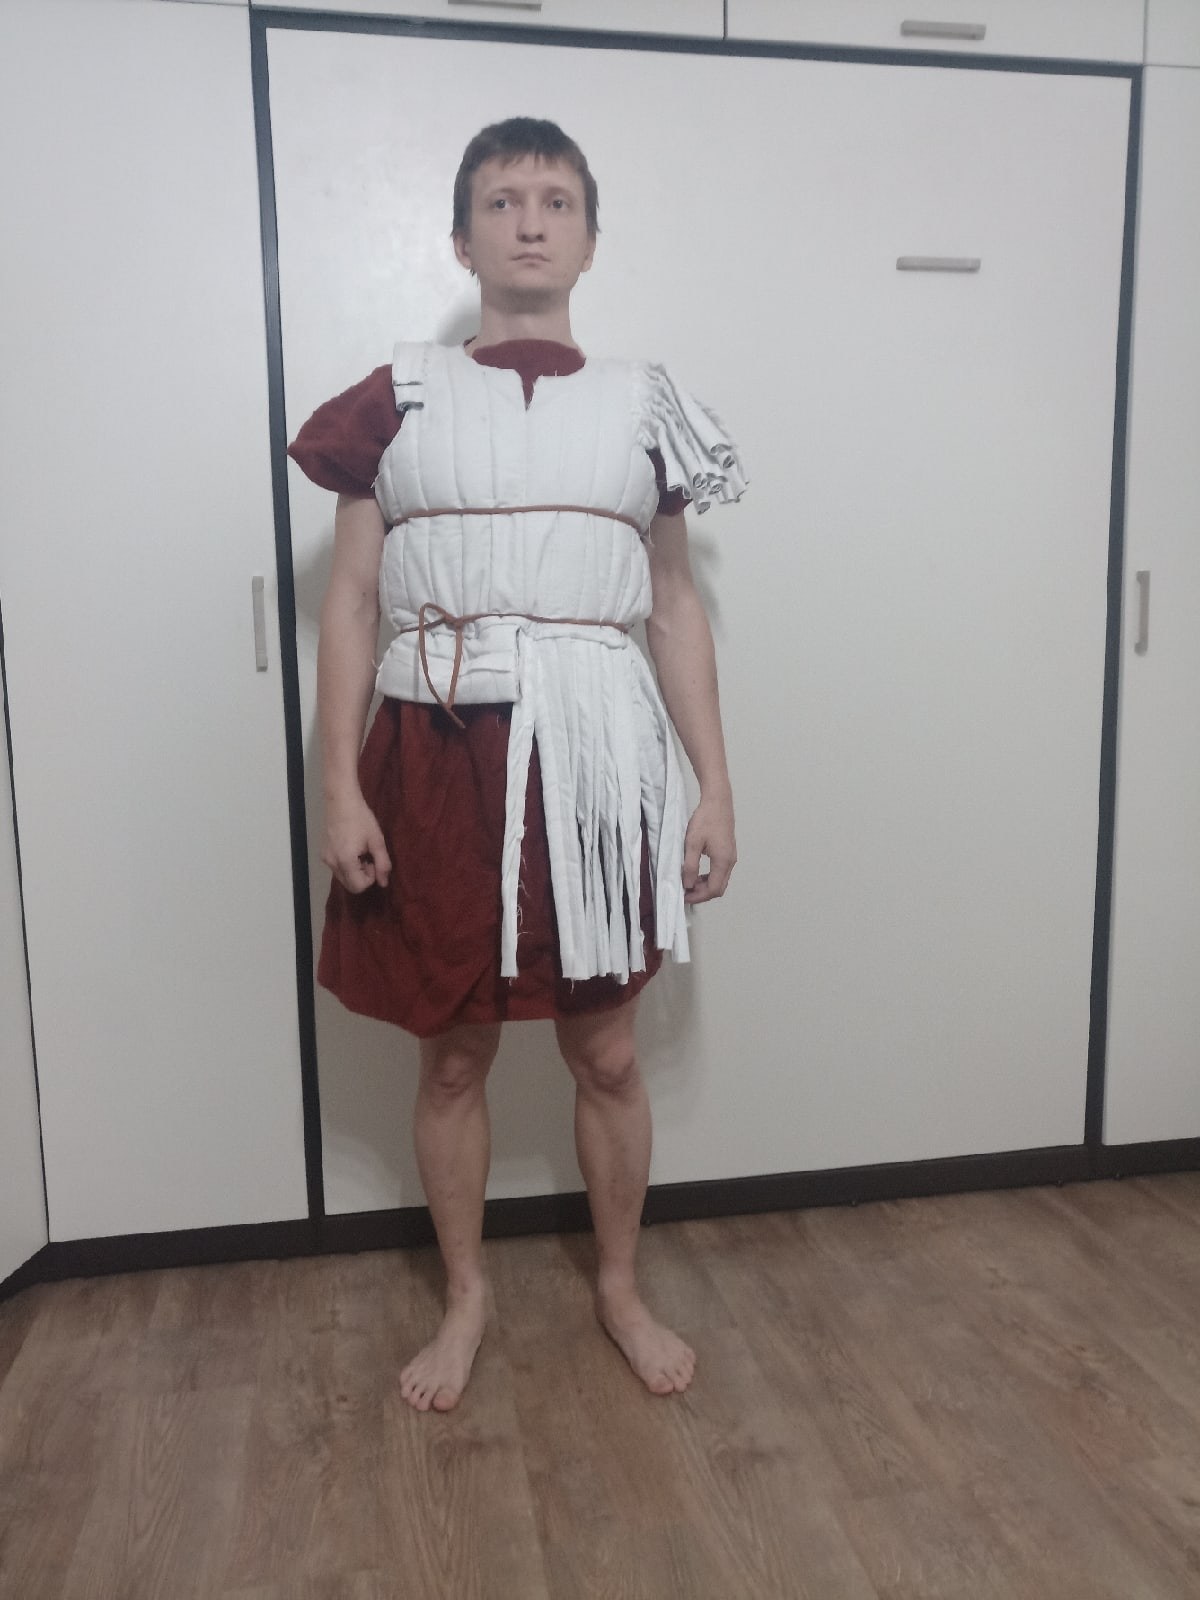 Textile mock-up of the subarmalis used to refine dimensions, shoulder line, waist and drape.
Leather, Dyeing and Preliminary Finish
The project used vegetable-tanned leather. The material was chosen by several criteria: thickness, stiffness, quality of the grain side, behaviour of the flesh side and the way the edge holds its shape after finishing. Leather that is too soft quickly loses the silhouette, while leather that is too stiff drapes poorly under the cuirass and turns the pteruges into immobile plates.
Leather samples and finishing options were compared before the main assembly. Colour, dye absorption, the gloss of the final surface and the way the material looked beside the red tunic and gilded cuirass were all checked. The main panels were dyed red, while the edges and bindings received a warm yellow-brown tone. At the same time the finish was not meant to make the leather look like plastic: the surface remained visibly leather, and the trimmed, bound edge had to work as a firm but not brittle outline.
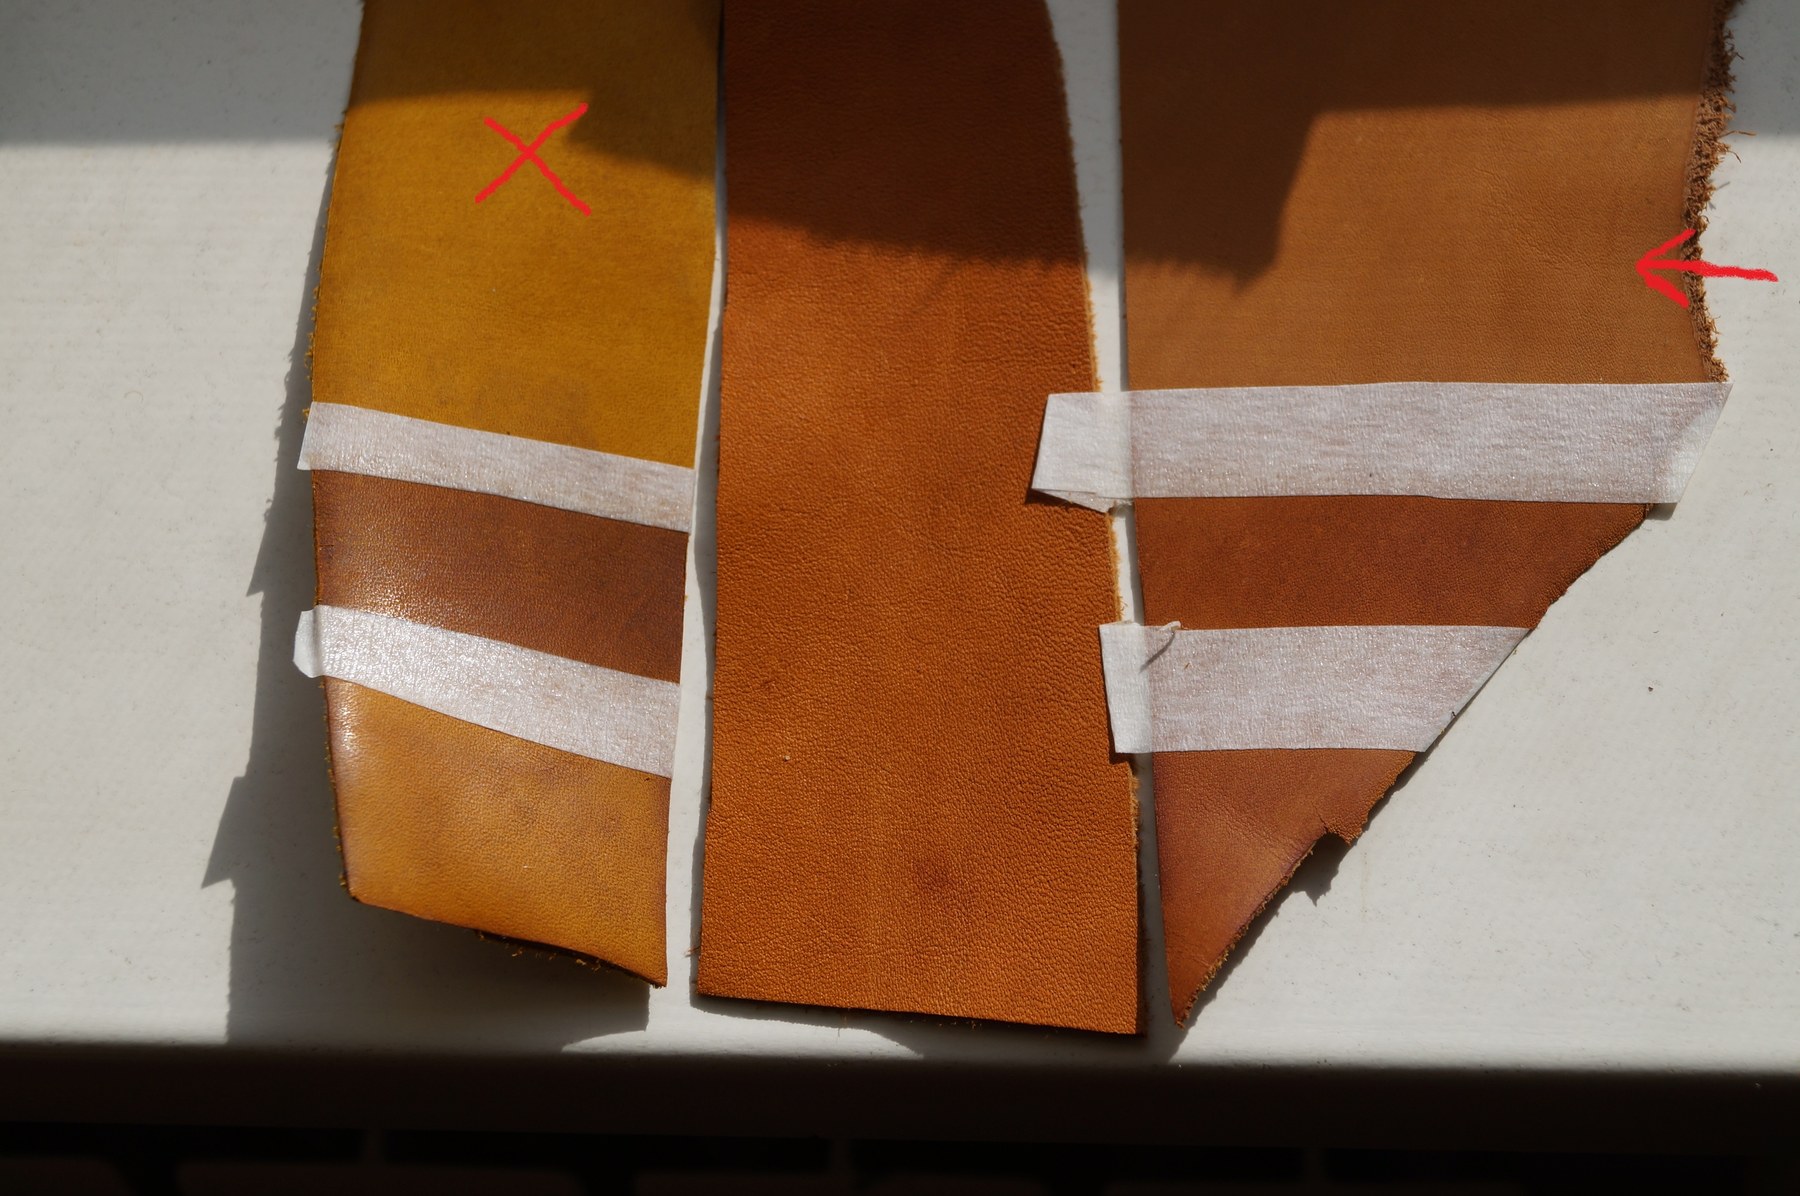 Comparing leather samples for colour, surface, thickness and edge behaviour.
Pteruges and Repeated Elements
The pteruges became one of the most labour-intensive parts of the work. Each strip had to follow the same general logic - a red field, yellow-brown edging, finished edge and awl-made holes for hand stitching - while the set was not simply made from identical rectangles. Length and width depended on placement: the shoulder row, side areas and lower zone behave differently.
The sculptural source sets the rhythm and visibility of the rows, while practical fitting shows where freedom of movement is needed. The pteruges were therefore adjusted in groups: some created visual density under the cuirass, some covered the hip, and some formed the transition toward the sides. The repeated elements increased the amount of hand stitching, but they also produced the characteristic ceremonial pattern of the under-armour garment.
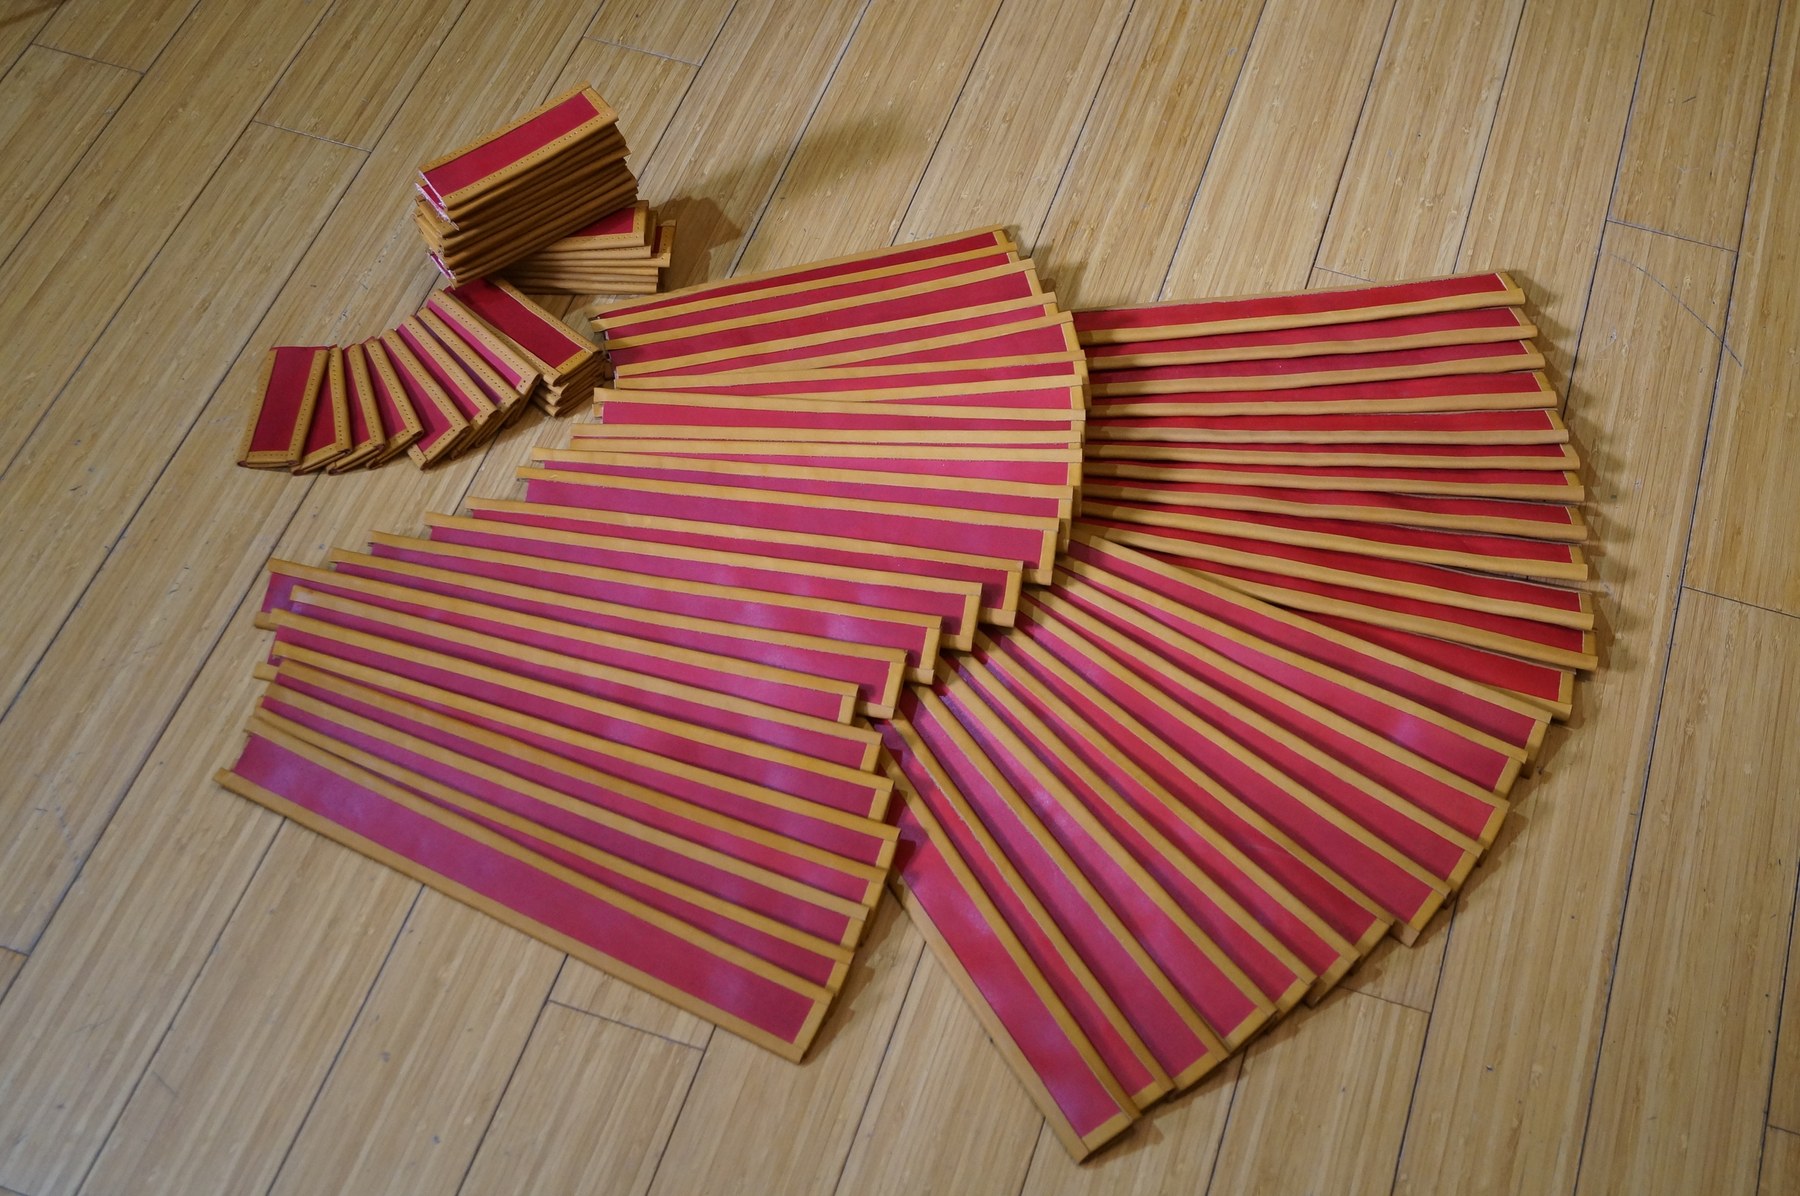 Set of leather pteruges after dyeing and edging, before assembly.
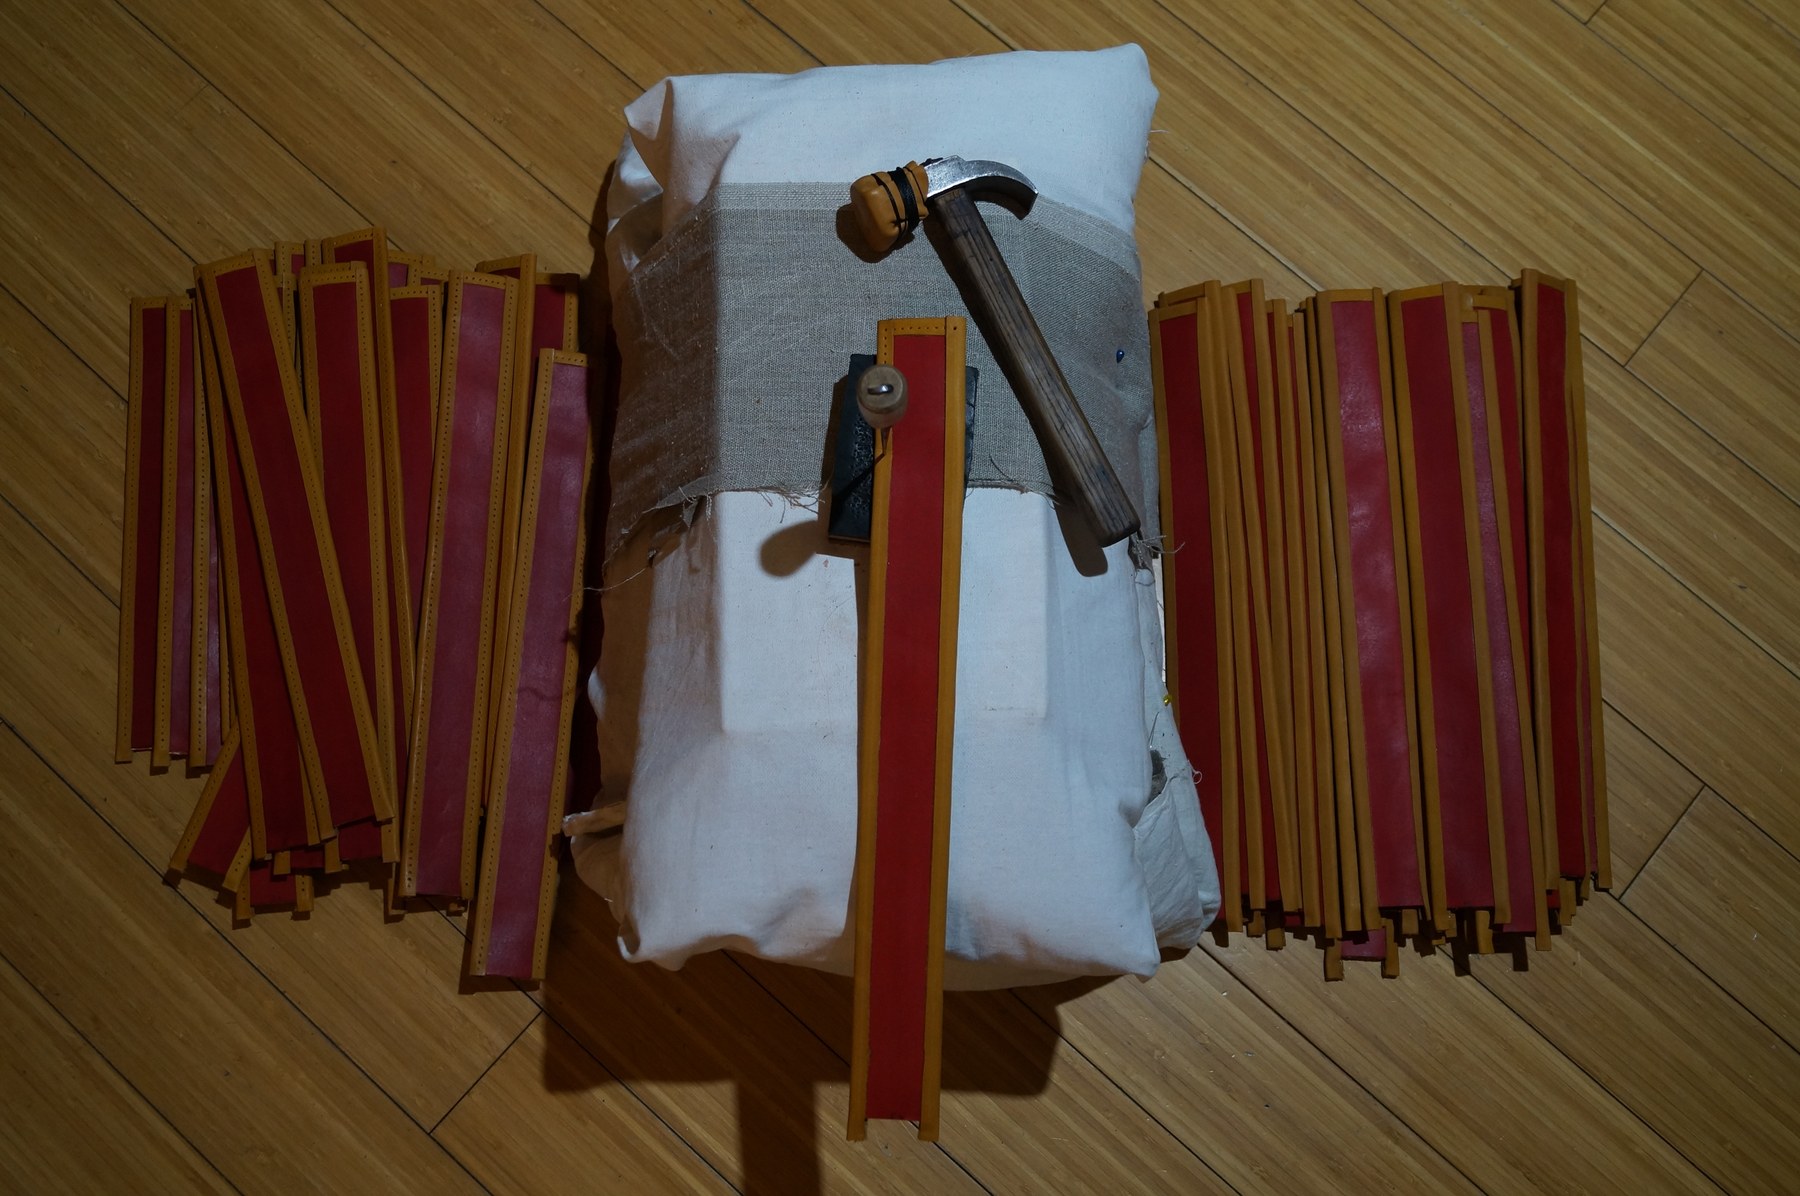 Separate pteruges, tools and a padded form during assembly.
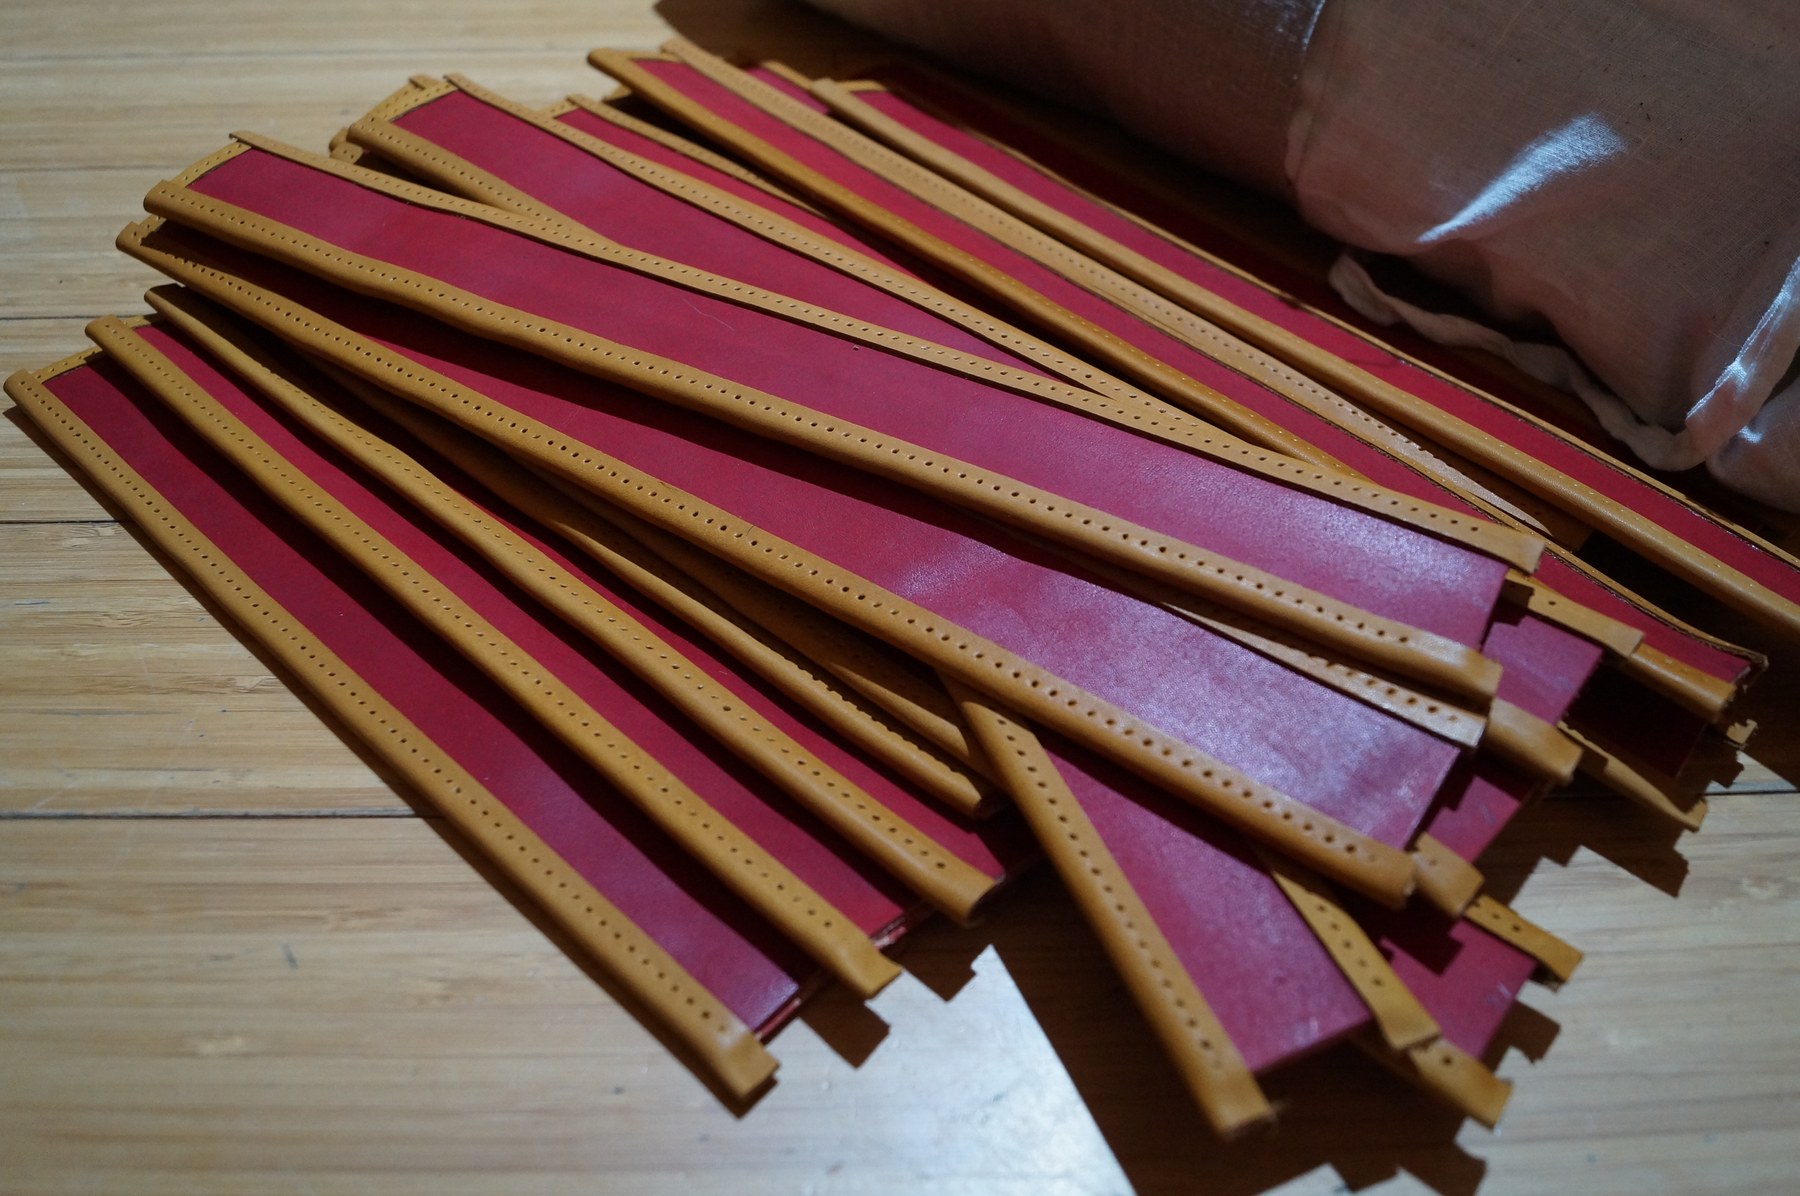 Leather pteruges with finished edges and awl-made holes for hand stitching.
Body and Fit under the Cuirass
After the mock-up and leather selection, the leather body was assembled. Its task is not only to carry the pteruges, but also to sit under the cuirass without excess folds. Vertical stitch lines help hold the surface and visually connect the body with the lower elements; at the same time they must not create hard ridges where the cuirass presses.
This stage shows especially clearly the difference between a museum or sculptural source and a wearable reconstruction. On the statue the lower layer is part of ceremonial plastic form, while on a person it also has to allow the arm to lift, the wearer to sit and walk, and the garment to bear the weight of the lorica. The body was therefore checked not separately on a table, but together with the tunic, straps and cuirass.
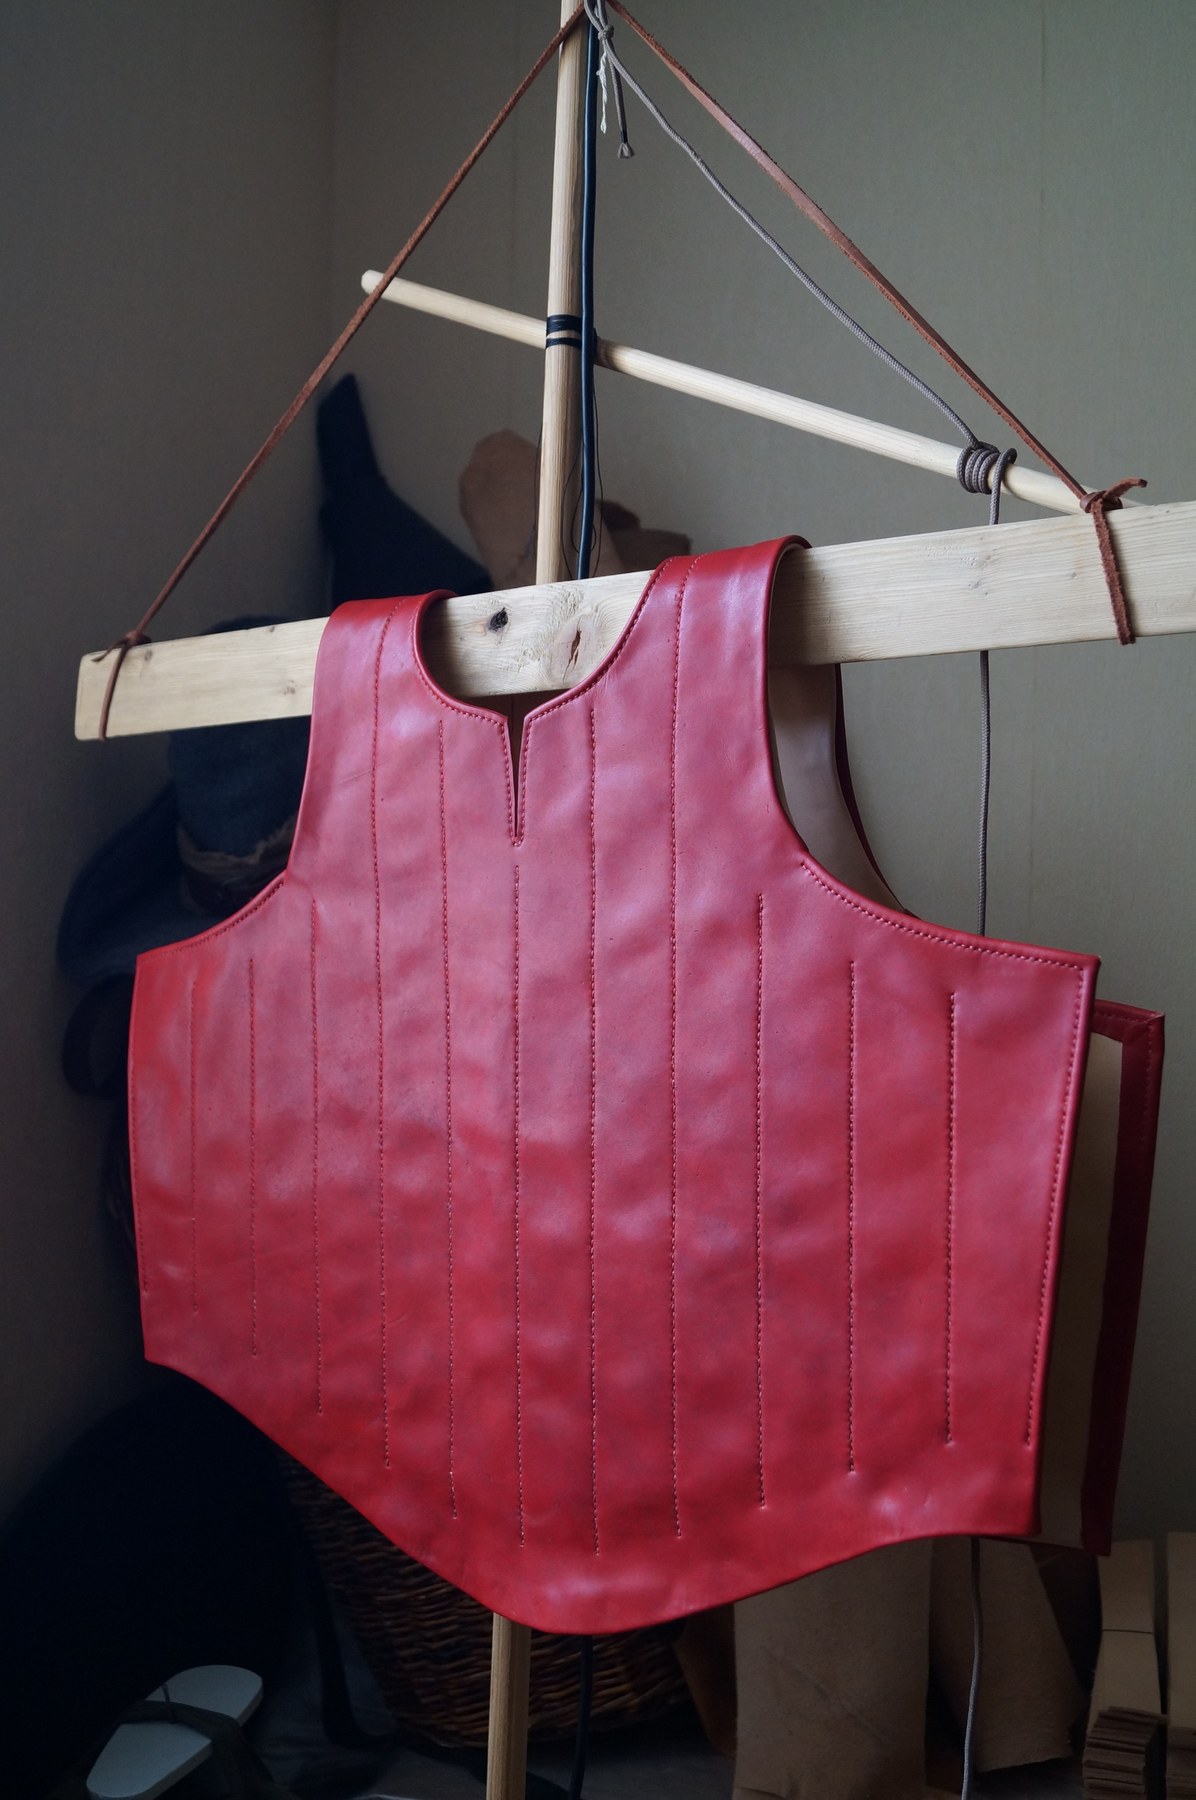 Leather body of the subarmalis after dyeing and stitching the vertical lines.
Finish and Visible Effect
In the finished kit, construction is not the only concern; colour also matters. The red fields of the pteruges support the tunic, while the yellow-brown edging separates the elements and makes the rows readable under the gilded lorica. If the edges are left unfinished, the pteruges quickly lose definition; if they are made too massive, they compete with the cuirass and break the silhouette.
The finish was therefore treated as part of the construction. The edging protects the edge, sets thickness and holds the geometry of the strips; dye and surface finish were chosen so that the subarmalis remained visible without looking like a separate bright object over the costume. In the wearable image it has to work as a subordinate but essential layer beneath the armour.
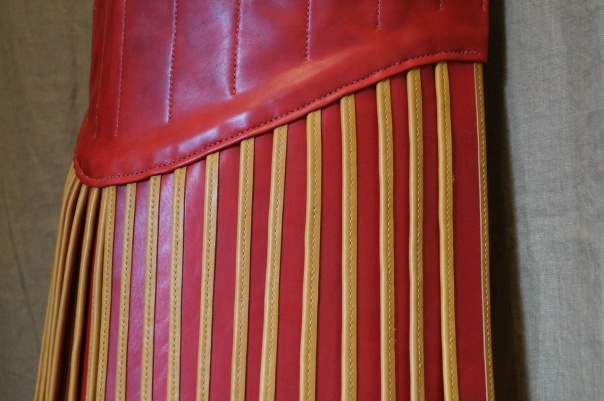 Lower pteruges and tunic in the finished imperial kit.
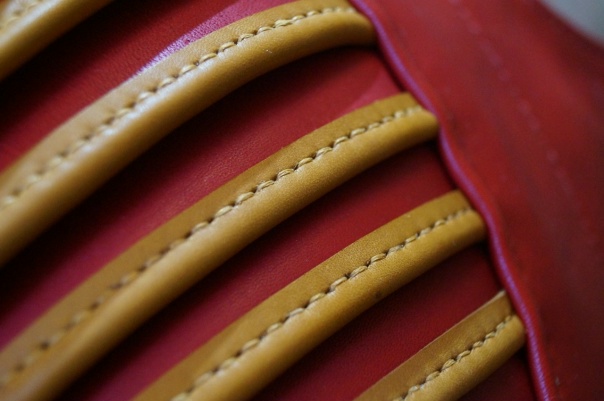 Detail of the pteruges and dyed leather of the finished subarmalis.
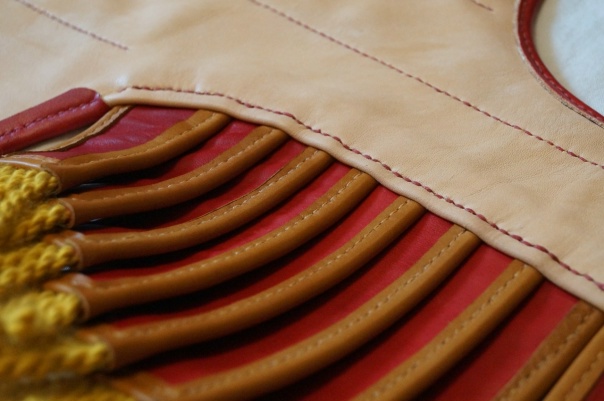 Upper edge and rows of pteruges during assembly.
Hand Stitching
The under-armour garment was stitched entirely by hand. Stitching holes were made not with modern multi-prong punches, but with a simple awl. This slows the work considerably, but gives different control over spacing, direction and seam behaviour around curves. In an object with many pteruges and long join lines, stitching becomes the main labour-intensive element.
The hand work is especially visible on repeated elements: even with the same marking, each edge needs separate preparation, piercing and thread tension. On a small sample this looks like a simple operation, but across the whole under-armour garment it becomes a long sequence of repeated decisions, where a mistake in spacing or tension is immediately visible beside neighbouring pteruges.
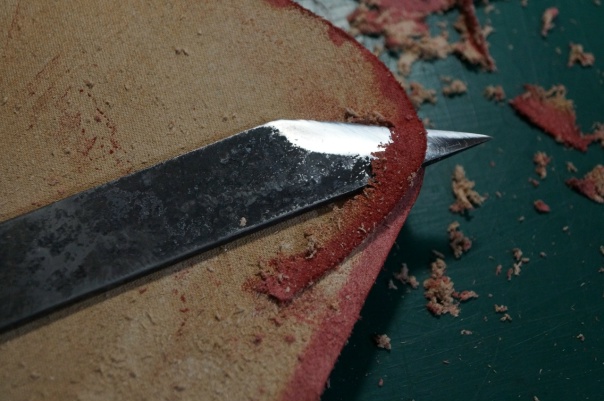 Trimming and working the leather edge before further assembly.
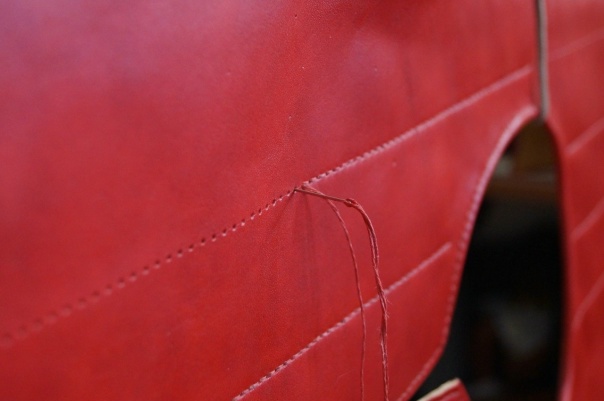 Hand stitching on a leather panel of the subarmalis.
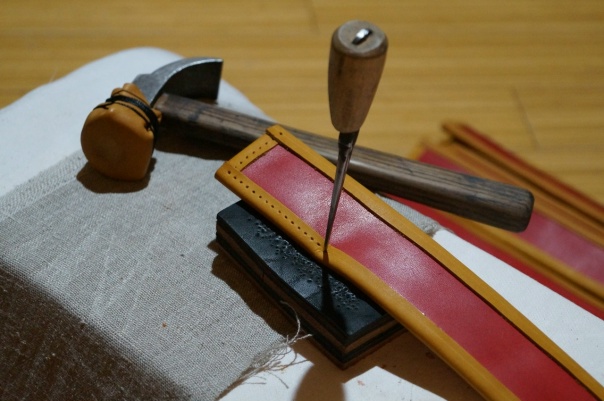 Awl and hand tools used to make holes for stitching.
Weight and Fit
The finished subarmalis weighs just under 5 kg. This shows clearly that leather in this volume is not a light material. The weight has to be considered before final assembly: it affects shoulder fit, movement of the lower pteruges, pressure beneath the cuirass and the behaviour of the whole kit during prolonged wear.
The mock-up helped determine the dimensions in advance, but the final fit became clear only after the leather pieces were assembled. Beneath the cuirass the subarmalis acts simultaneously as padding, visible layer and support for the pteruges. If it is too loose, the armour shifts the folds; if it is too tight, the pteruges lose movement and the body presses under the cuirass. Fitting in the complete kit was therefore as important as cutting and stitching.
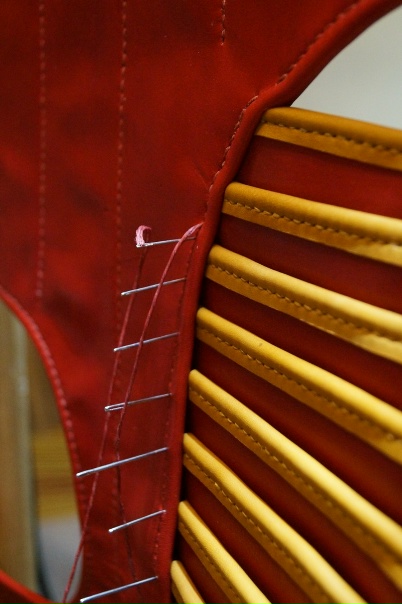 Side assembly area: joining the body and pteruges.
Related Topics
- Subarmalis
- Reconstruction of Augustus of Prima Porta
- Lorica musculata
- Tunic
- Practical Reconstruction Experience
Literature and sources
- Cuspiri Workshop: post on making an imperial subarmalis
- Reconstruction of Augustus of Prima Porta
- Subarmalis


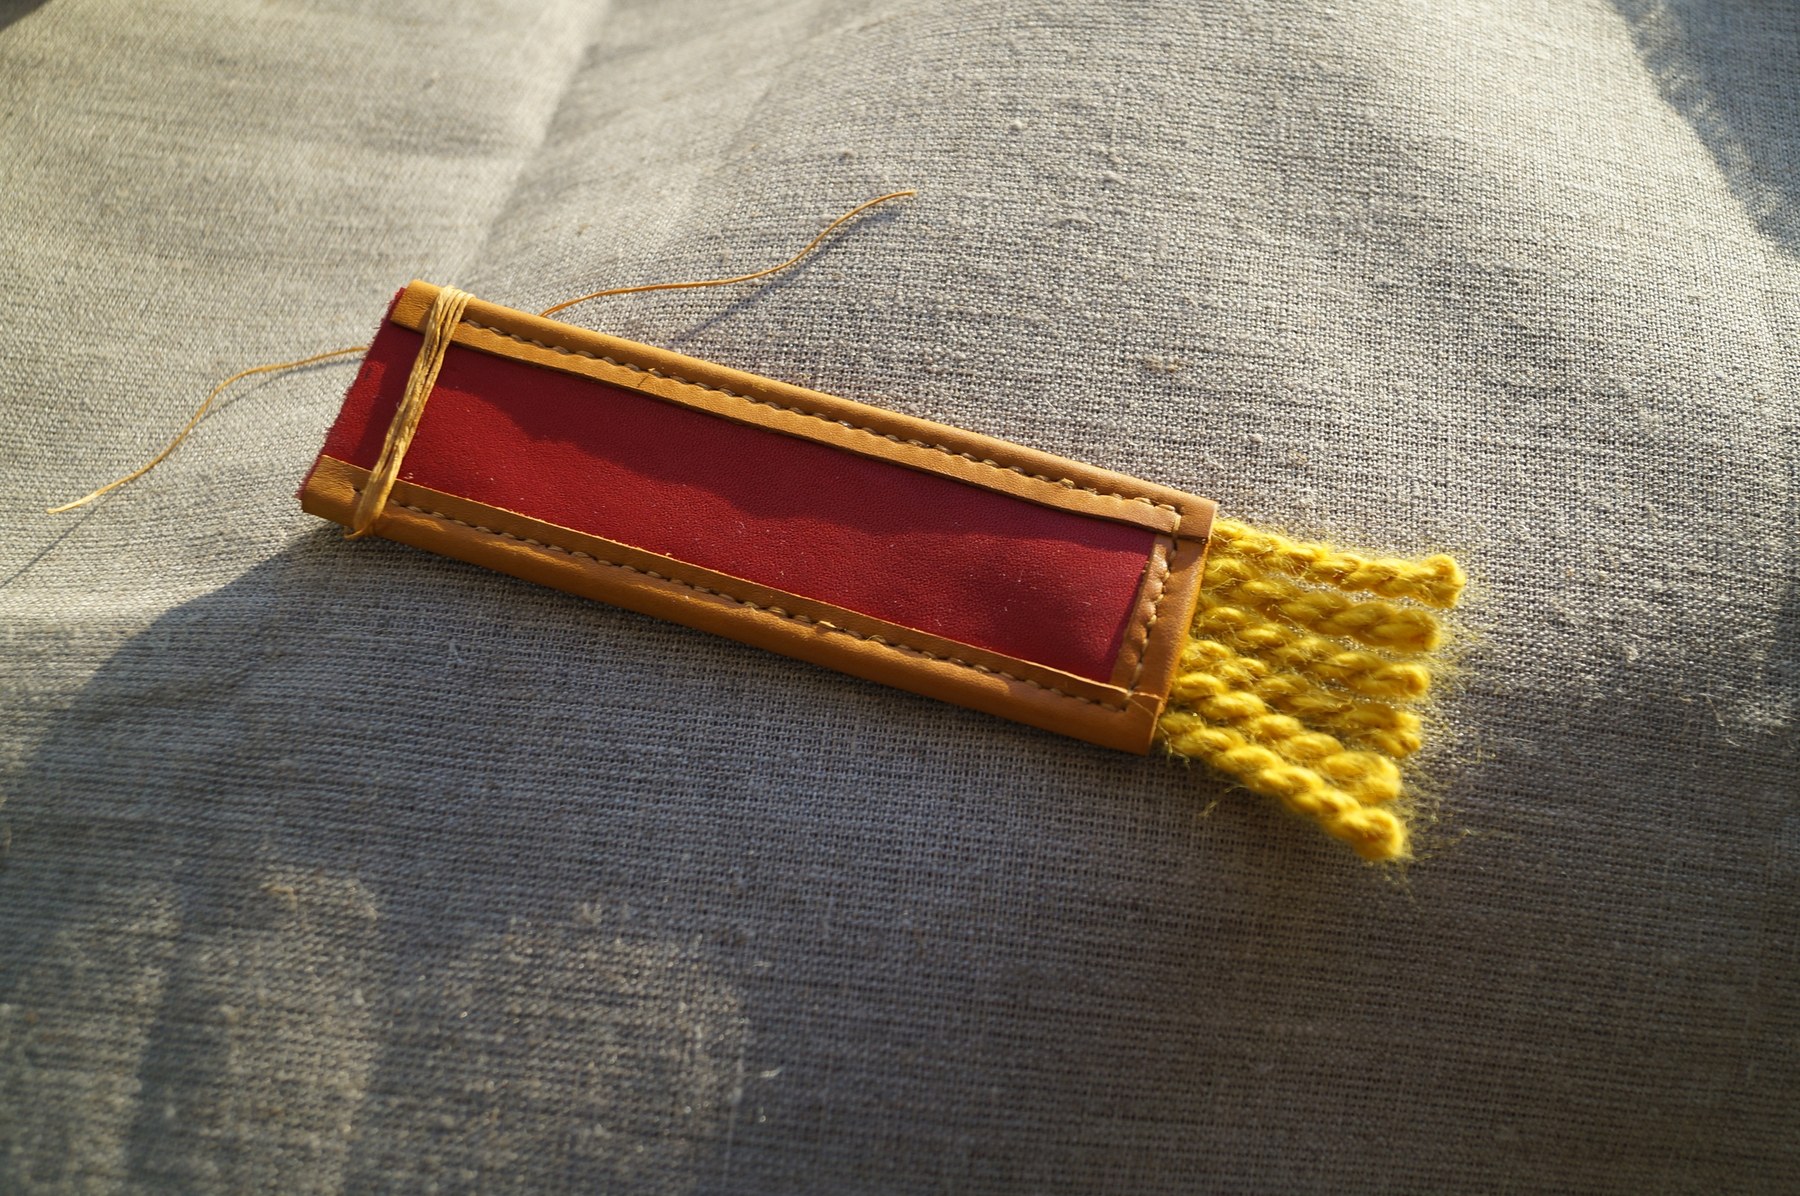 Sample detail finish: leather edging, hand stitching and cords.
Interested in Ancient Rome beyond reading? Join Legio X Fretensis or explore our reenactment directions.


